Staying organized while editing is crucial, especially when dealing with larger projects and sequences. There are many ways to stay organized in Adobe Premiere Pro, and using Label colors is a great way we at Imagination Creations avoid getting lost in our own mess of footage! Label colors can be used in two key ways; in your project bins or on your timelines, and those methods are not mutually exclusive.
Footage in project bins can be labeled with colors. You might want to label all of CAM 1 as YELLOW and CAM 2 as BLUE while making all audio GREEN and all images PINK. Once you label your assets in this way, those selected colors will remain when bringing those assets to your timelines.
A second use for label colors, one that I use more commonly, is to help sort through and organize interview footage. When going through my interviews, I like to drop my selects onto a timeline, and then change their label color in accordance with the topic they are speaking about. In a recent promotional video I worked on for a summer camp, I labeled all interview content about the staff in GREEN, and all content about field trips in PINK. (And so on...)
By doing this, I can then use the 'Select Label Group' feature and move all my selected clips about one topic to a new timeline to edit just those clips about that topic.
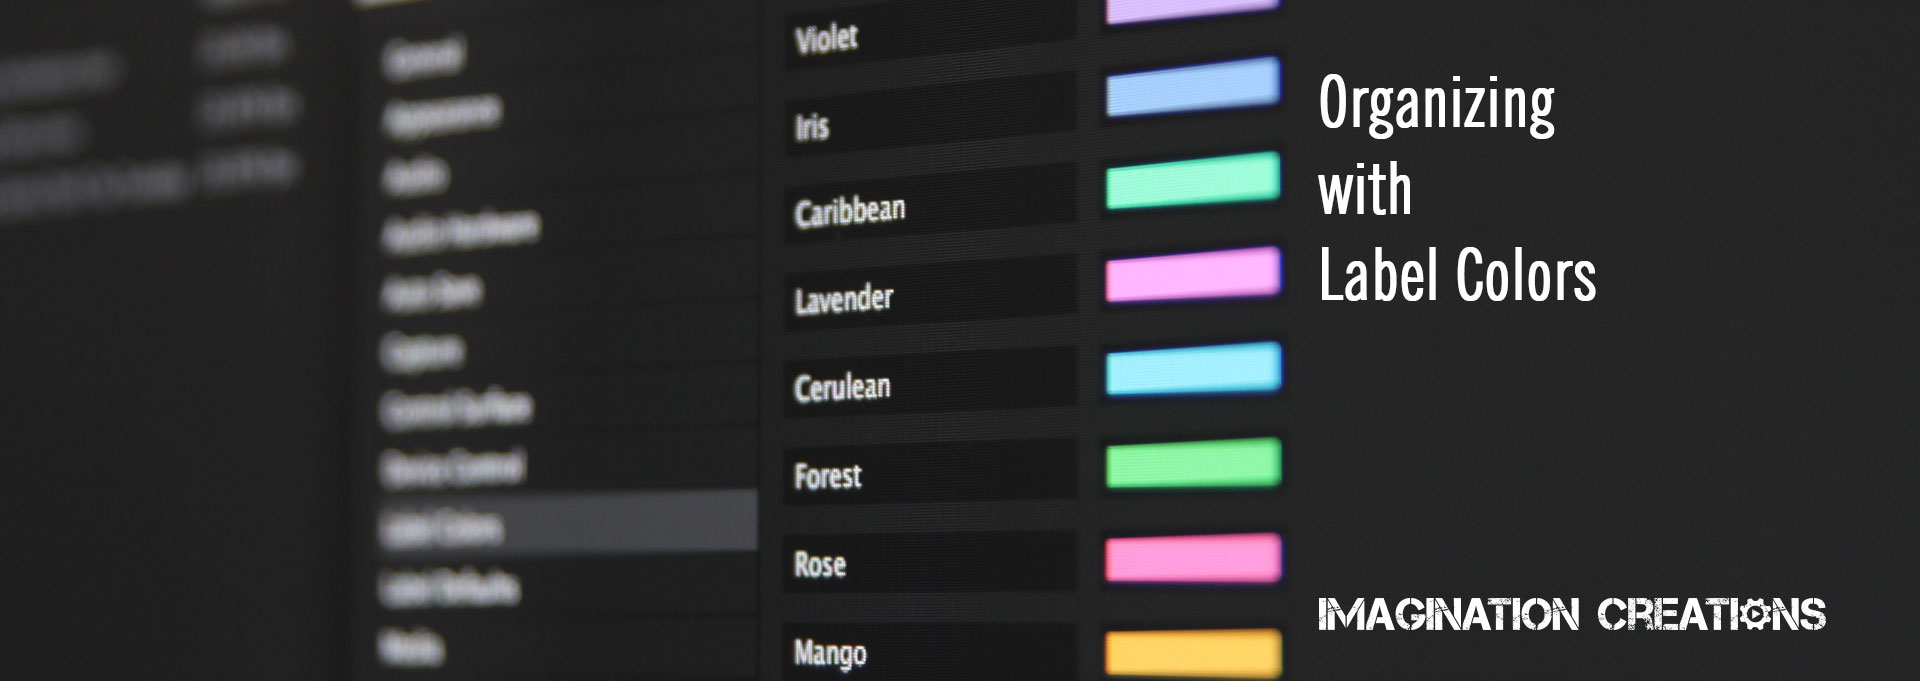
Premiere Pro also allows you to change the preset colors for labels as well as the names assigned. These changes can be made by choosing Premiere Pro > Preferences > Label Colors.
Check out our video tutorial on this to see these practices in action.
For more tutorials and to see how we’ve applied some of these techniques to our work, check out our YouTube channel or our Vimeo page.


